Added: 10 September, 2007
Group: 3D studio max
Realistic looking computer case
Author: TechTut.com
page: 2
Computer case object in 3D max part 2
Select lines and chamfer them, then,extrude in, polygons.
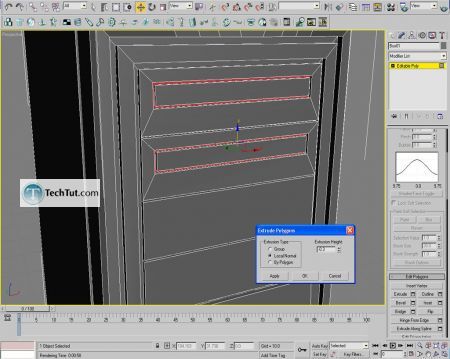
Outline polygons.
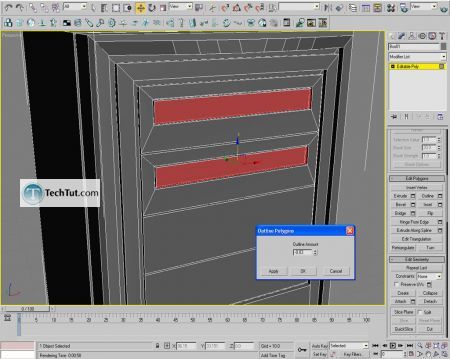
Probably you learn the point until now so I wont explain every step so detailed.. Connect left and right line, (two segments),then connect that two new lines, you will get that thin polygon, extrude it in.
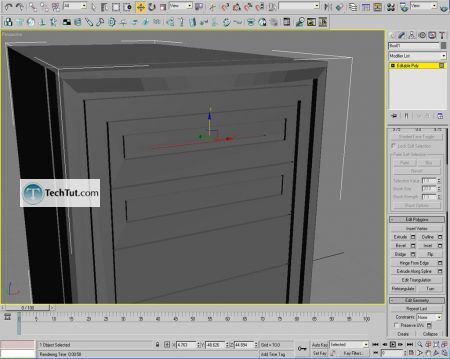
Select polygon, inset it and then select those two bottom vertex and scale them to get straight lines.
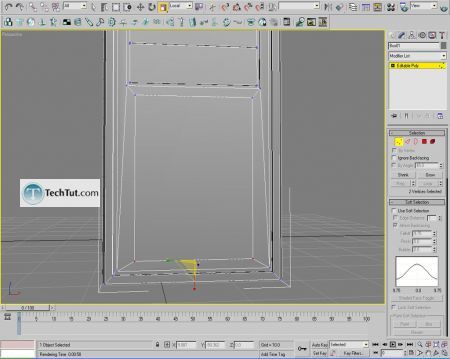
Now move those edges like on picture (to make floppy drive)then connect left and right and chamfer all.
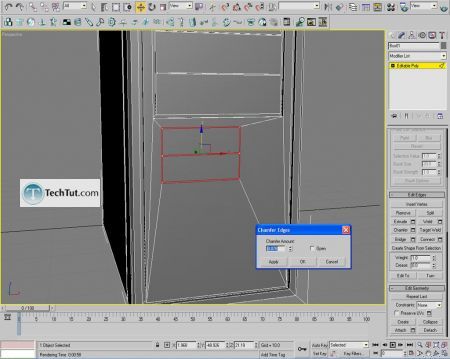
Inset first polygon.
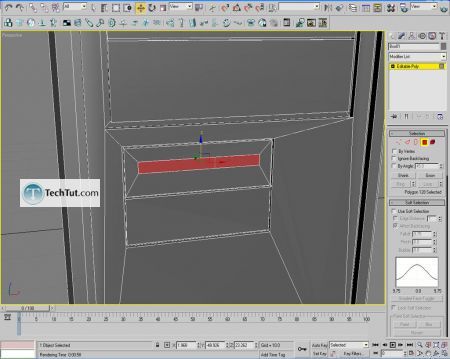
Now there is a picture what you need to create, so I will just explain how to do that.. Connect left/right edge, then connect new edge and bottom edge (two segments).And now ,bevel in, that polygons like on picture.
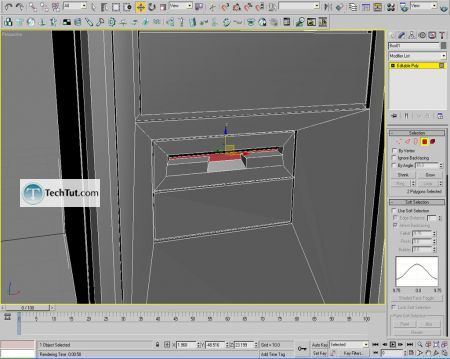
Inset polygon and modify to look like on picture. And bevel it in just a little.
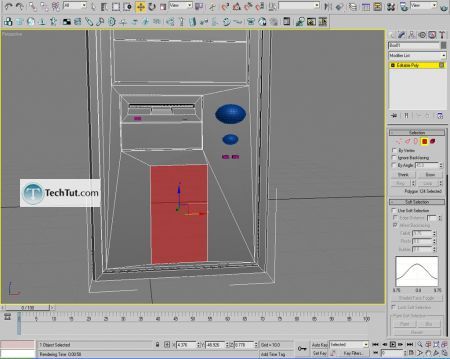
Create three capsules for buttons.
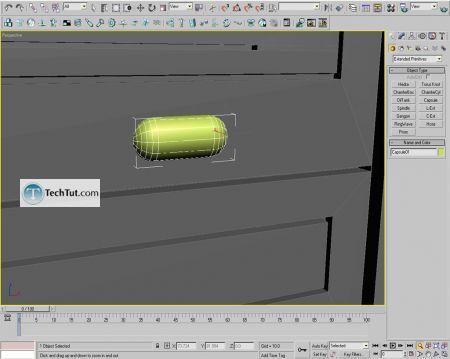
Now we shall compound objects to get some holes(create/geometry/compound). Create five boxes, two cylinders and two spheres (scale spheres to look like those two blue buttons and copy them because youâll need them later), then place them like on picture, they should be placed to enter for a little bit in computer case(so they can dig holes).Select one of those objects go to âcompound objectsâ click âconnectâ and then âpick operandâ button and just select all other created objects(look picture).Now you just need to Boolean that. And if you copy those sphere button drag them to their holes (they should be smaller then holes so scale them).
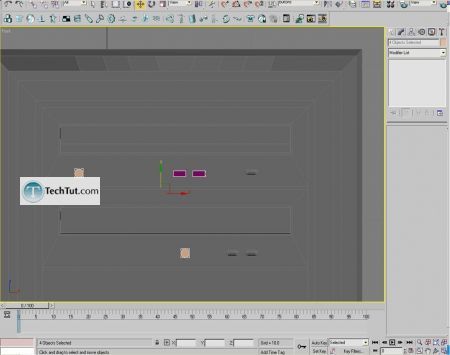
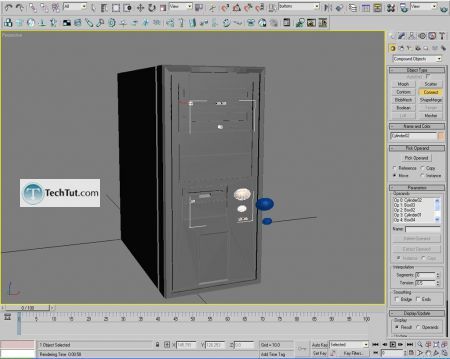
Now one easy step. Just select both sides insert polygon and bevel it in.
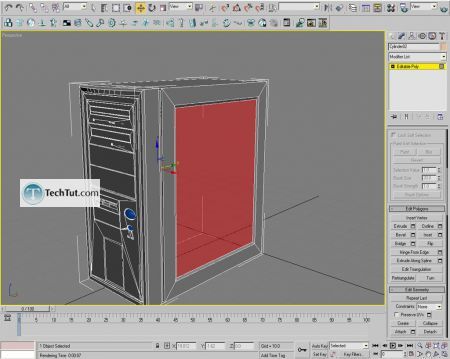
Now to create back side.. Inset polygon extrude it in and connect left/right edge like on picture.
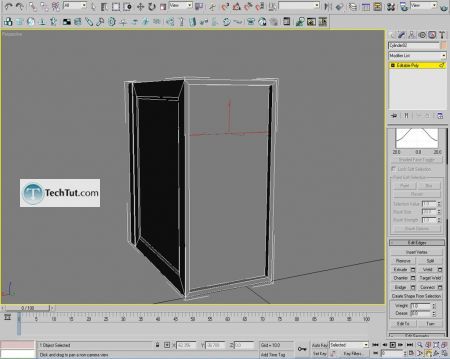
Inset that new polygon, connect upper and bottom edge and cut those four edges like on picture.
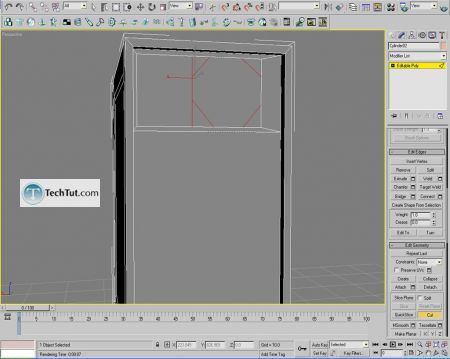
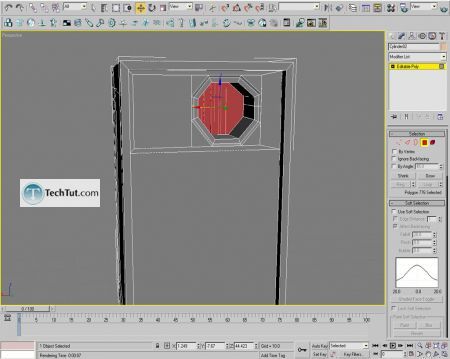
Bevel that polygon, inset it and then extrude it in. And we get hole for the fan.
GO to: Page 1 : Computer case object in 3D max part 1
GO to: Page 2 : Computer case object in 3D max part 2
GO to: Page 3 : Computer case object in 3D max part 3
TechTut.com This tutorial is copyrighted. Partial duplication or full duplication is prohibited and illegal. Translation or usage of any kind without author�s permission is illegal.

 Join our RSS feed
Use our RSS feed to get the latest published tutorials directly to your news reader.


