Added: 19 August, 2007
Group: Maya
Create hookah model, render and texture complete tutorial
Author: TechTut.com
page: 2
Create hookah like on the photo page 2
Next step creating curves for this things with same way :
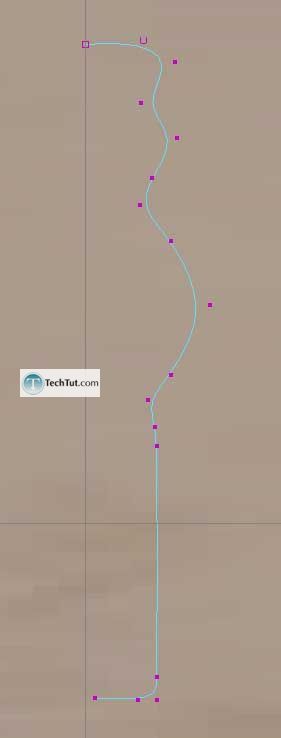
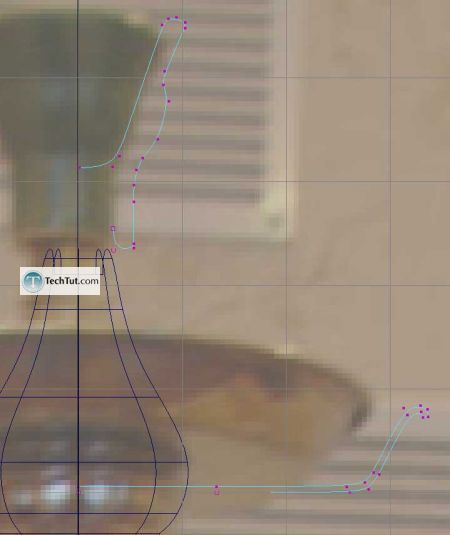
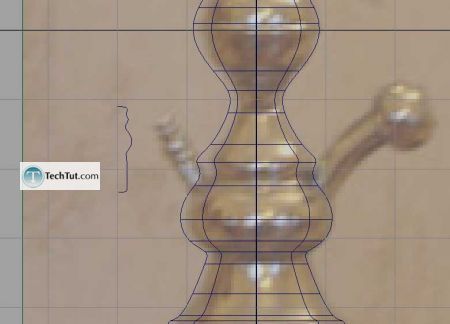
Doing revolve on them and move it on there places:
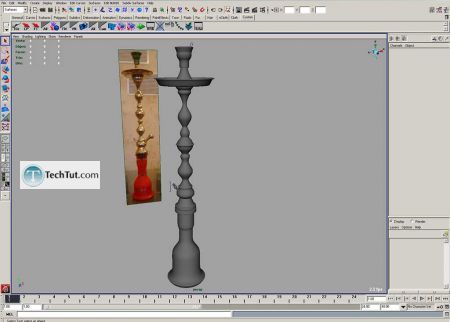
Select CV curve tool again and make curve for last part,
move pivot point like on picture and revolve:
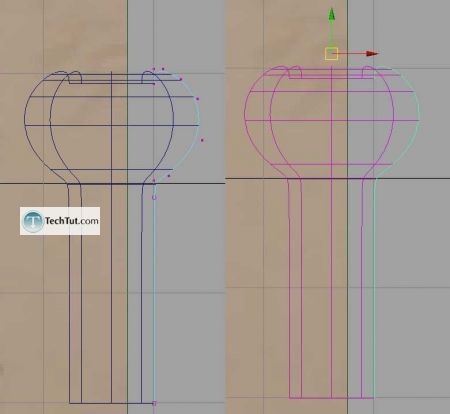
Add three isoparms like on picture:
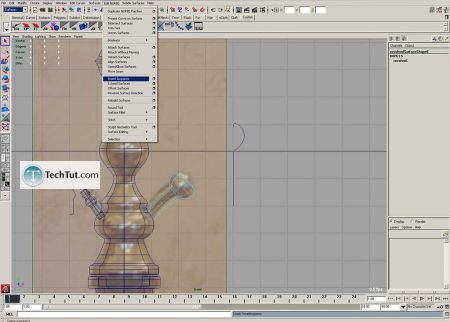
Create bend deformer input curvature 0.5 and high bound 0.4,low bound -1,
move deformer a little:
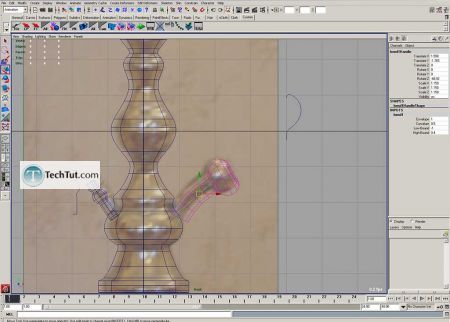
Select deformer and surface and group them together, and rotate, move group to achief this:
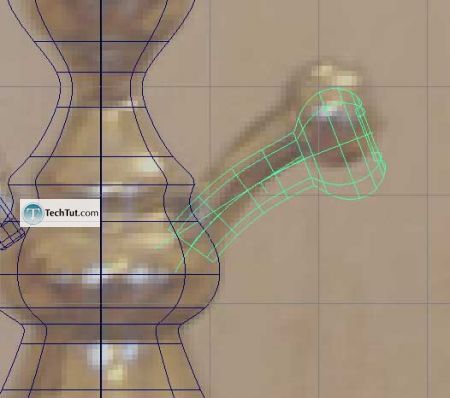
Make final adjustments for model
Select to surfaces and mark circular fillet with options
Check Reverse primary surface normal, Radius 0.05, Position and Tangent tolerance 0.001:
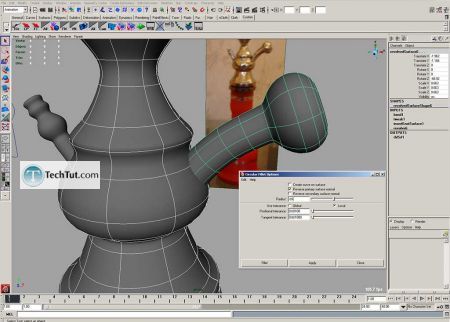
When fillet created (see below), select each surface that we have
and set tessellation method to high quality (with UV divisions 5 on 5), make it for each surface:
(on that step you can make a test render, to see a seam)
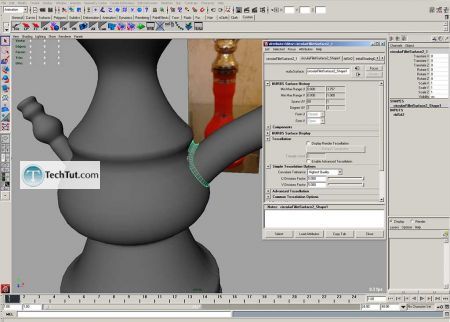
Create another one circular fillet with options Check Reverse primary and secondary surface normal
Radius set 0.04, Position Tolerance 0.001, Tangent tolerance 0.01. And also set tessellation
in high quality with 5 on 5 divisions.
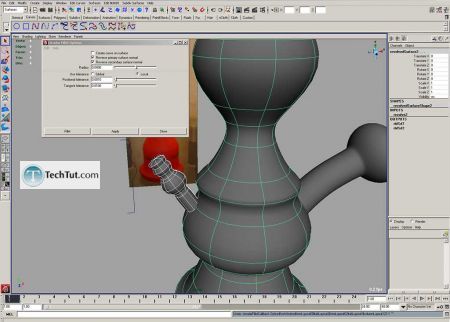
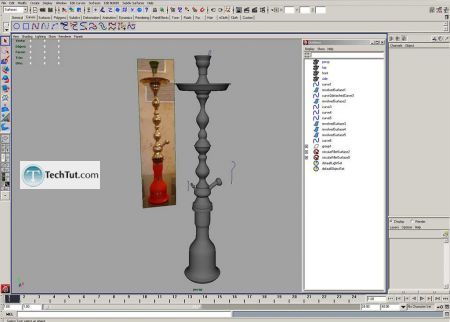
That's all, modeling is finished,
in next lesson we will start make materials and render it with MentalRay:
GO to: Page 1 : Create hookah like on the photo
GO to: Page 2 : Create hookah like on the photo page 2
GO to: Page 3 : Texture and render hookah
TechTut.com This tutorial is copyrighted. Partial duplication or full duplication is prohibited and illegal. Translation or usage of any kind without author�s permission is illegal.

 Join our RSS feed
Use our RSS feed to get the latest published tutorials directly to your news reader.


