Added: 12 August, 2007
Group: Photoshop
Textured background in Photoshop
Author: John
GO to: Page 1 : Textured Background
page: 1
Textured Background
Definitions are brought to the top level, making this easy to handle. Picking the main color and the color of a foreground are individual but theres a few tips on how to make it vivid.
And here is another short tutorial on creating a textured background. Though not very complex or hard, sometimes you just need a background but nothing else seems to fit. Use this textured background as a base and build upon it or just use the background without changing anything on it.
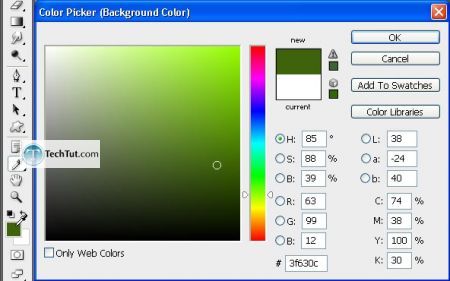
Step 1. Pick a color to base this background on. Try not to go with your typical colors what I mean is: dont go green, instead go dark green (for example). In fact, for this tutorial I think Ill go with a dark green.
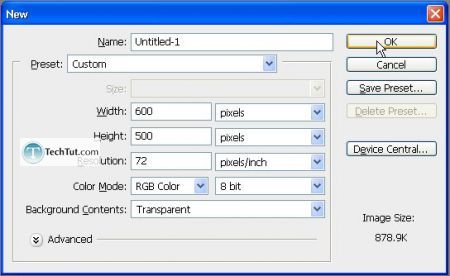
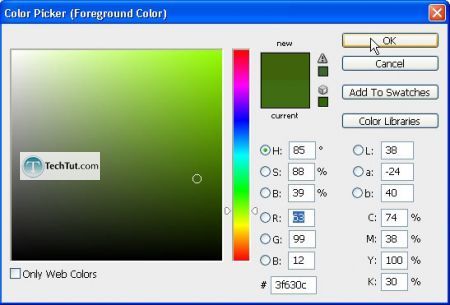
Now that you have your selected color chosen as your foreground color, with your layer selected, press Alt + Backspace.
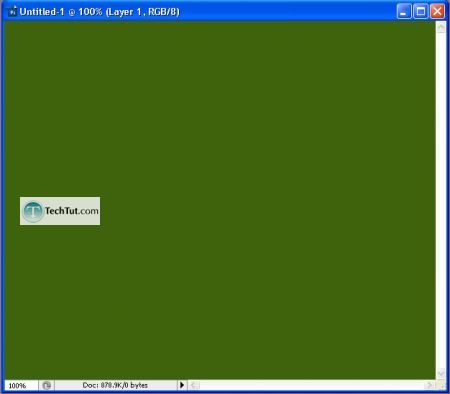
Step 2. Now first, reflect upon that screenshot you are looking at right now or look at you own document. Flat colors are extremely disgusting. Lets fill the layer with a radial gradient. With your foreground the same, choose the background (eyedrop the foreground then just lower the brightness, essentially).
Make sure you have the following gradient settings

Now apply
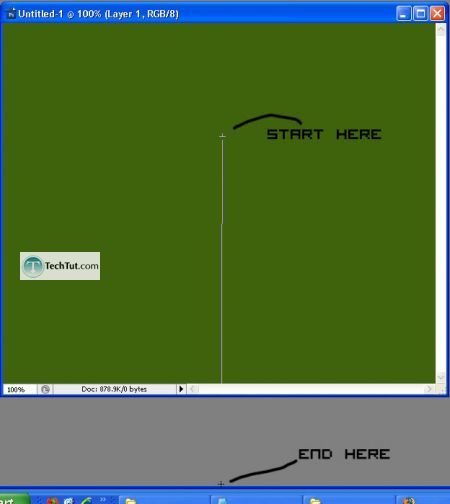
Step 3. With your colors still selected, duplicate the layer and then go to Filter > Render > Fibers . Man, I always loved that look. Drop the variance and strength down to 10 and 3 respectively.
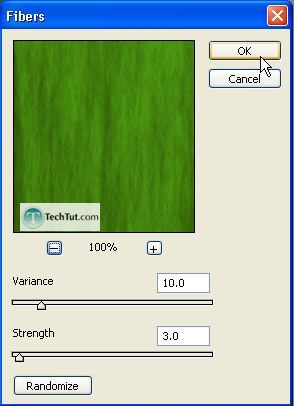
Finally, drop the layer opacity down to 30% or so.
Step 4. It is still looking too plain. To liven it up a bit, duplicate this fibered layer and apply a Filter > Sketch > Water Paper. Fiber length to something like 15, and leave brightness and contrast alone.
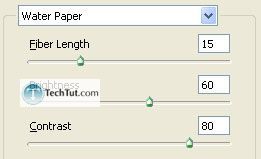
Step 5. Make sure the layer we just applied the water paper filter to is set at around 30% opacity and then to highlight any areas (such as where your artwork or logo will go on top of this background), get out the brush tool.
With a 125px but 0% hardness brush (white foreground), draw a sort of loose zig zag or whatever shape you like. Do this on a new layer, by the way.
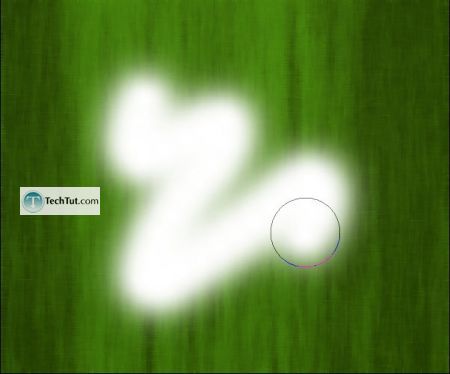
Now lower the opacity to 11% and then set the layer style to Screen.
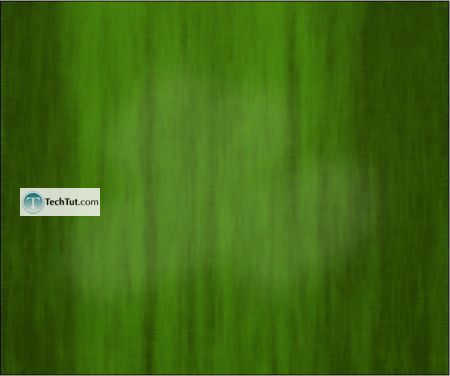
There, were finished!
GO to: Page 1 : Textured Background
TechTut.com This tutorial is copyrighted. Partial duplication or full duplication is prohibited and illegal. Translation or usage of any kind without author�s permission is illegal.

 Join our RSS feed
Use our RSS feed to get the latest published tutorials directly to your news reader.


