Added: 7 September, 2007
Group: 3D studio max
Create low poly house
Author: TechTut.com
page: 3
Low poly house done in 3D max part 3
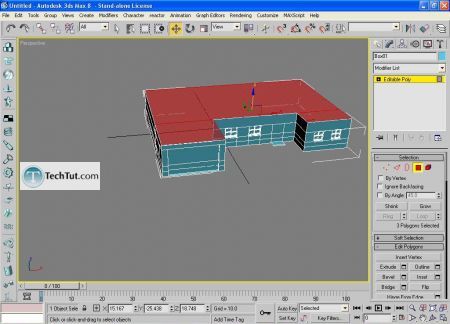
Select all polygons on top of object.
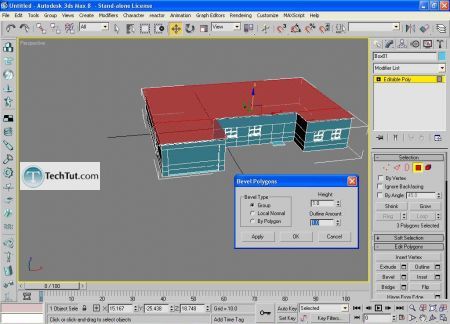
Bevel selected (height: 1, outline: 1)
In perspective view rotate view to the top and choose edge selection type.
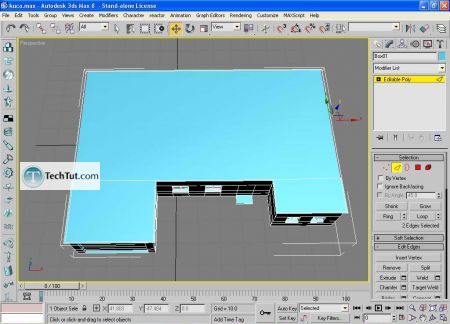
Try to make same edges like on next picture using select tool and Connect.
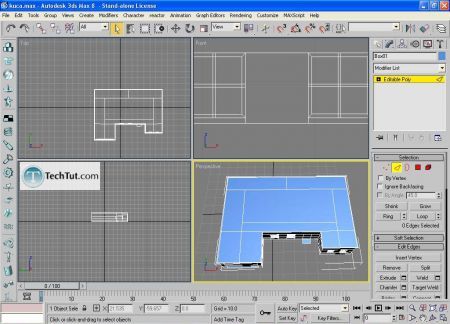
Choose vertices selection, and select these two vertices.
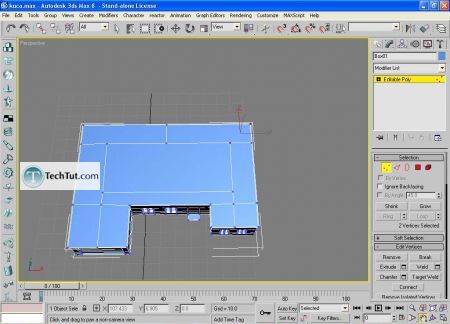
With selected vertices click on Connect button in Edit vertices menu.
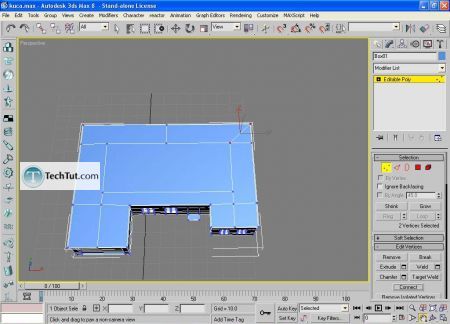
On roof, select these two edges.
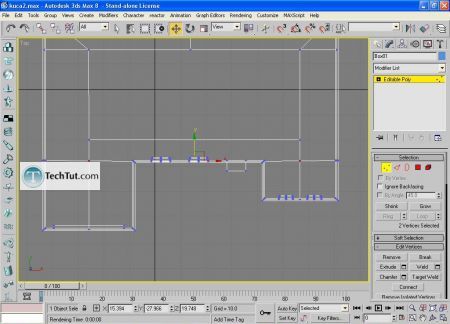
Move them to the y coordinate.
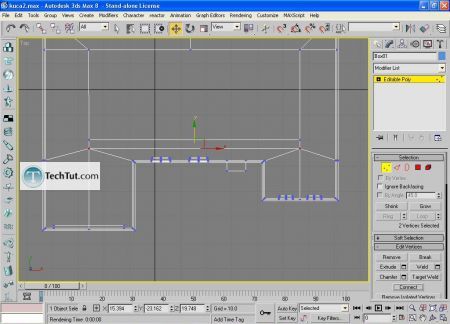
Select two vertices on left roof side.
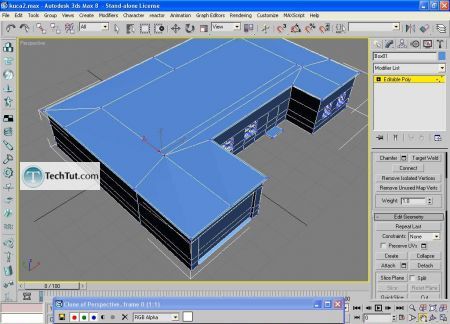
Collapse them. In Edit geometry menu click on Collapse button to make one vertices from two vertices. When do that repeat that step to other side.
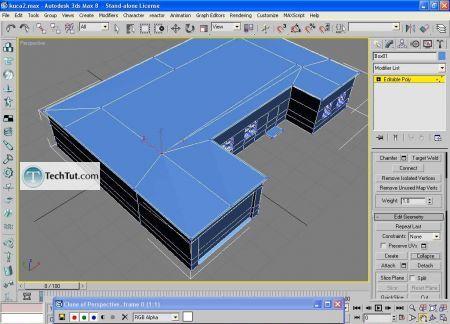
Go to top view and position vertices like shown on picture.
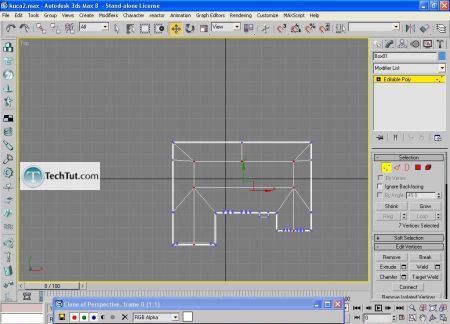
Move up center of roof.
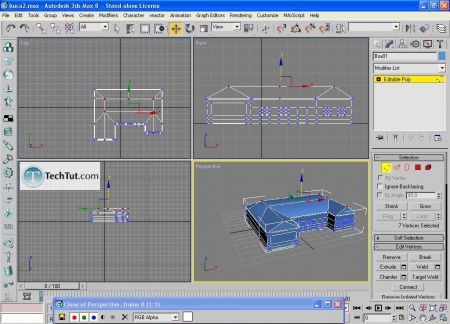
To remove soft edges on roof find where is roof soften than it necessary to be. Just press F10 and render to view. Break critical vertices with Break tool (Edit vertices menu).
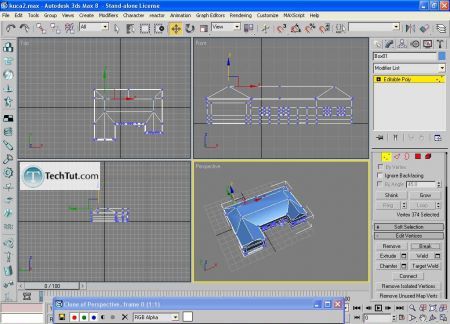
Now make separately selections for all parts of house. First, select roof, and in Polygon Properties menu type 1 in ‘Set ID’ and press Enter.
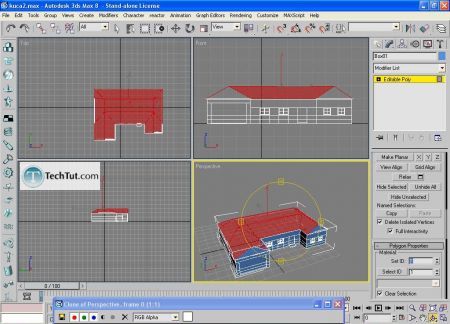
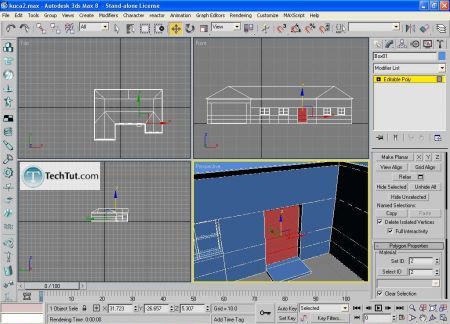
Set ID 2 for door.
GO to: Page 1 : Low poly house done in 3D max part 1
GO to: Page 2 : Low poly house done in 3D max part 2
GO to: Page 3 : Low poly house done in 3D max part 3
GO to: Page 4 : Low poly house done in 3D max part 4
TechTut.com This tutorial is copyrighted. Partial duplication or full duplication is prohibited and illegal. Translation or usage of any kind without author�s permission is illegal.

 Join our RSS feed
Use our RSS feed to get the latest published tutorials directly to your news reader.


